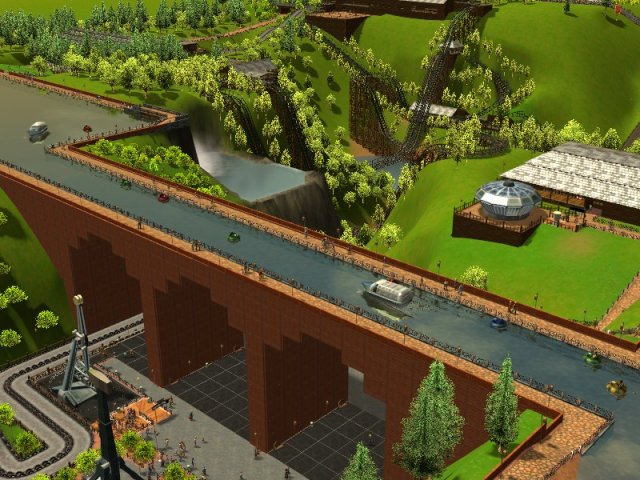
One question I am asked often is how I created the
aqueduct in "Steven's Coasters And Karts"
Believe it or not, there are no
cheats required, and it is in fact very simple! Use
Terrain Surfaces!
What Are Terrain Surfaces?
Terrain surfaces were included in
the "Soaked" expansion pack, and have a variety of
uses. To find them, simply go into the "Scenery"
menu, you will find them there.
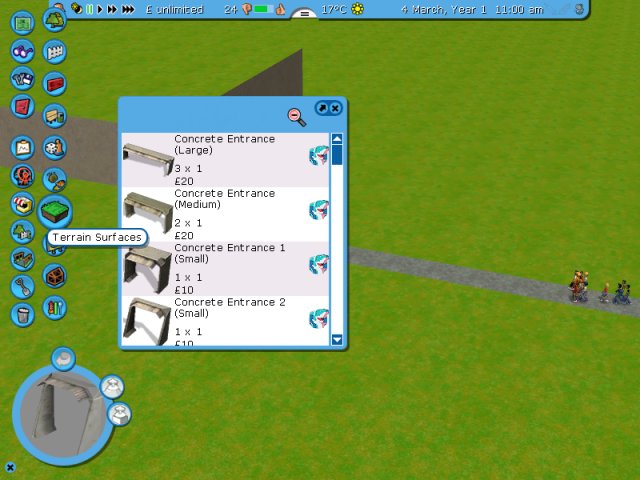
Here we see a variety of different
entrance types, although those are very useful, we
will need to scroll down to see the terrain blocks.
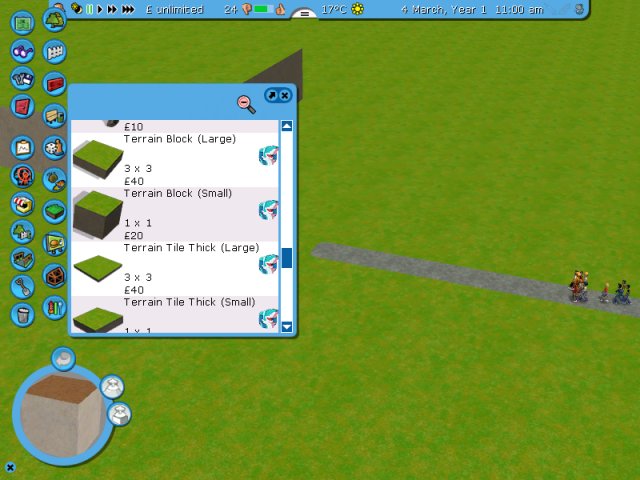
As you can see, there is a large
selection to choose from.
How to use Terrain Surfaces
These terrain surfaces can be useful
for putting terrain on top of buildings. You might
wonder why one would want to do this, however this
can be useful for creating surfaces for putting
plants on, and it also has the advantage of allowing
ride supports to appear there.
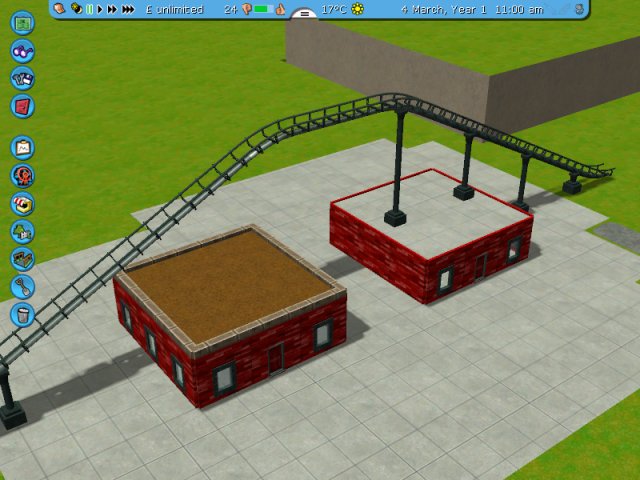
In this example, I have constructed
two buildings, one of which has a normal roof, the
other has a terrain block on top of it. Notice how
the building with the normal roof does not have ride
supports on it, whereas the building with the
terrain block DOES have supports!
Terrain blocks are a handy way of
having ride supports in places where you might not
normally be able to, without using custom scenery.
The terrain blocks will have the
same texture as the ground immediately below them,
so keep this in mind when placing them.
Underground Caves
Another useful feature of terrain
blocks is their ability to "invert" the ground.
Placing a terrain block underground will "hollow
out" the ground to create a cave, or underground
space.
This can be useful for creating
things such as aqueducts, and bridges for a zoo. In
the aqueduct example, I simply created the river,
and used the terrain blocks to "hollow out" the
arches of the bridge.
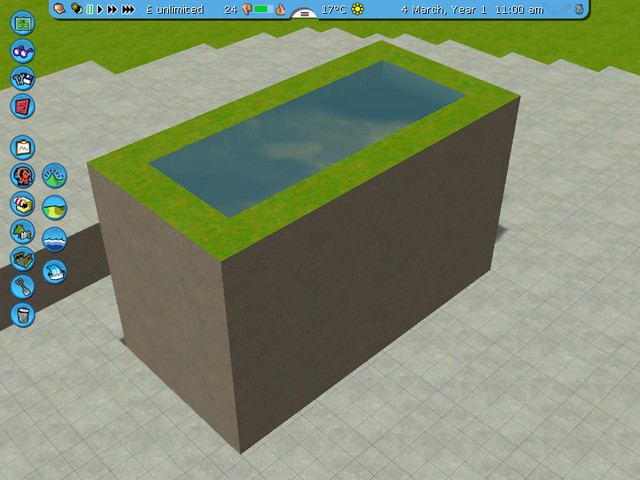
In this example, I have created some
raised water. This could also be a zoo enclosure, or
for that matter, anything!
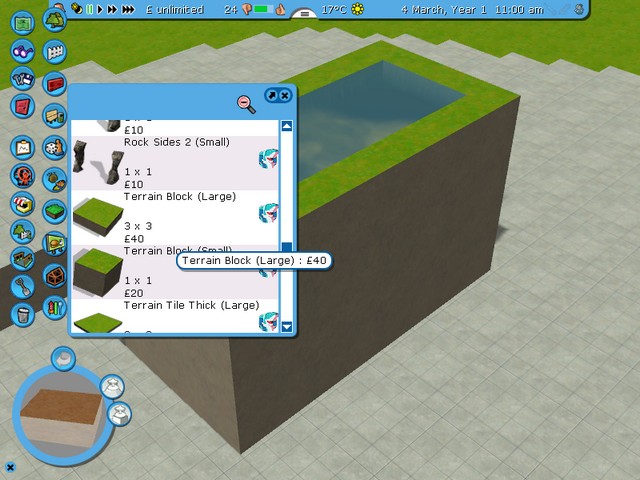
I am going to use the Large Terrain
Blocks in this example.
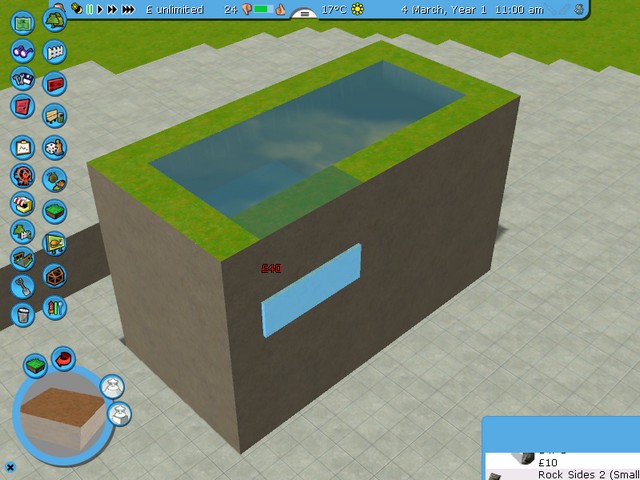
Here I have placed it underground,
so that it aligns with the edge of the raised
surface.
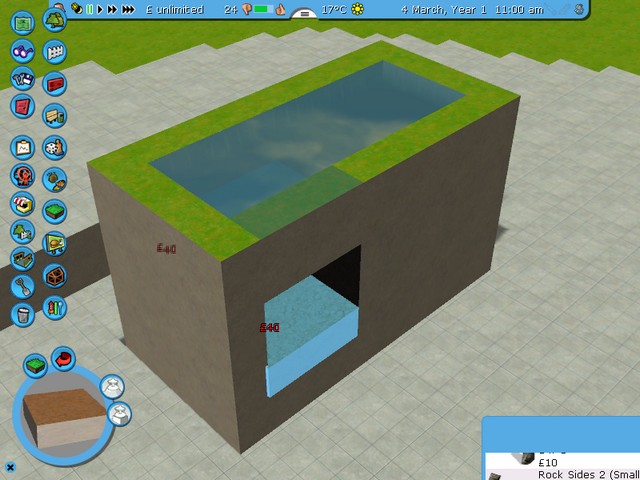
One the tile is placed, it "hollows
out" the area. Place several more blocks to make a
larger cave.

And once this is done, you have a
hollowed out area! Place an "underground" path to
complete the illusion.
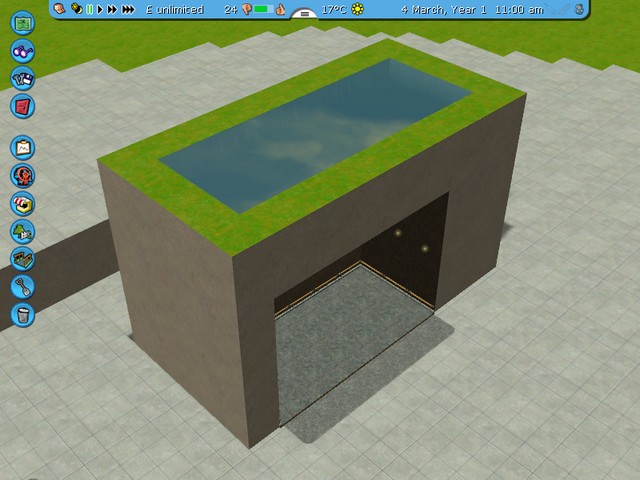
Continue, until you have an
"aqueduct"
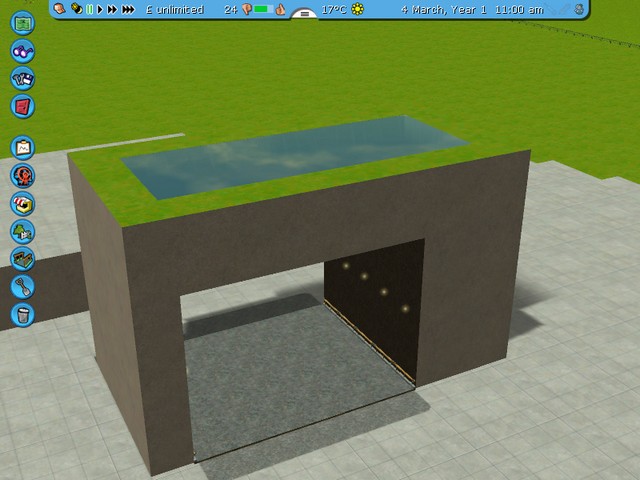
And now you can place walls inside
if you want.
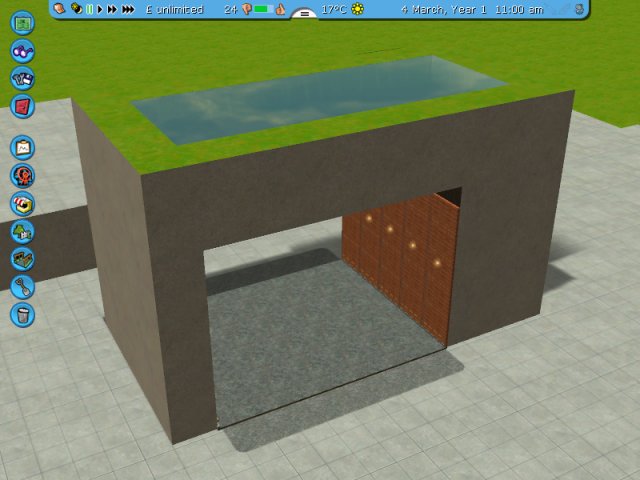
All you have to do now is experiment
with different wall sets, until you find one that
works best for your project.
|